Home / Shop All / Tapware / Assembly Taps / Pixi Tile Insert Assembly Taps – Brushed Gunmetal
Home / Shop All / Tapware / Assembly Taps / Pixi Tile Insert Assembly Taps – Brushed Gunmetal
$299.90
You may also need
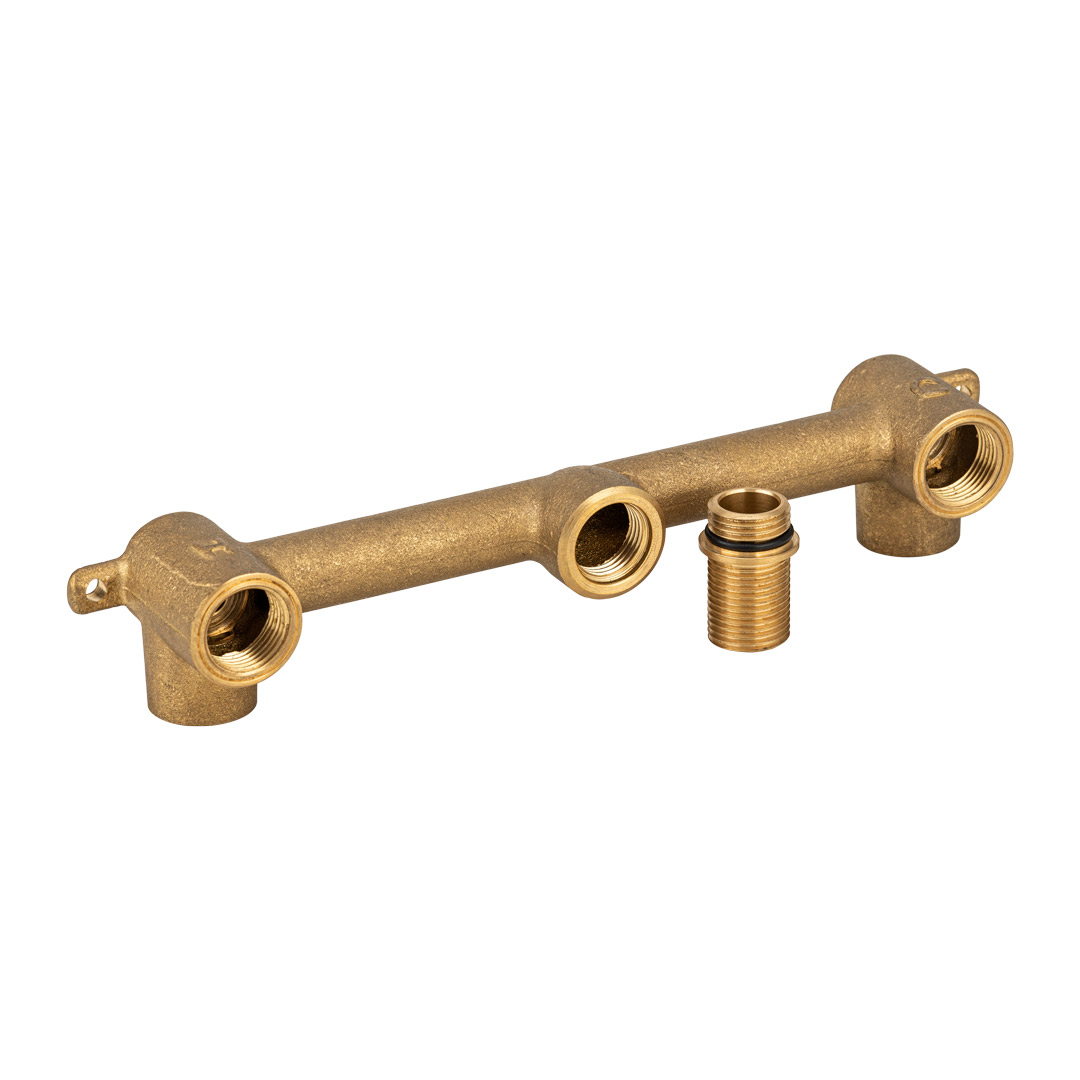
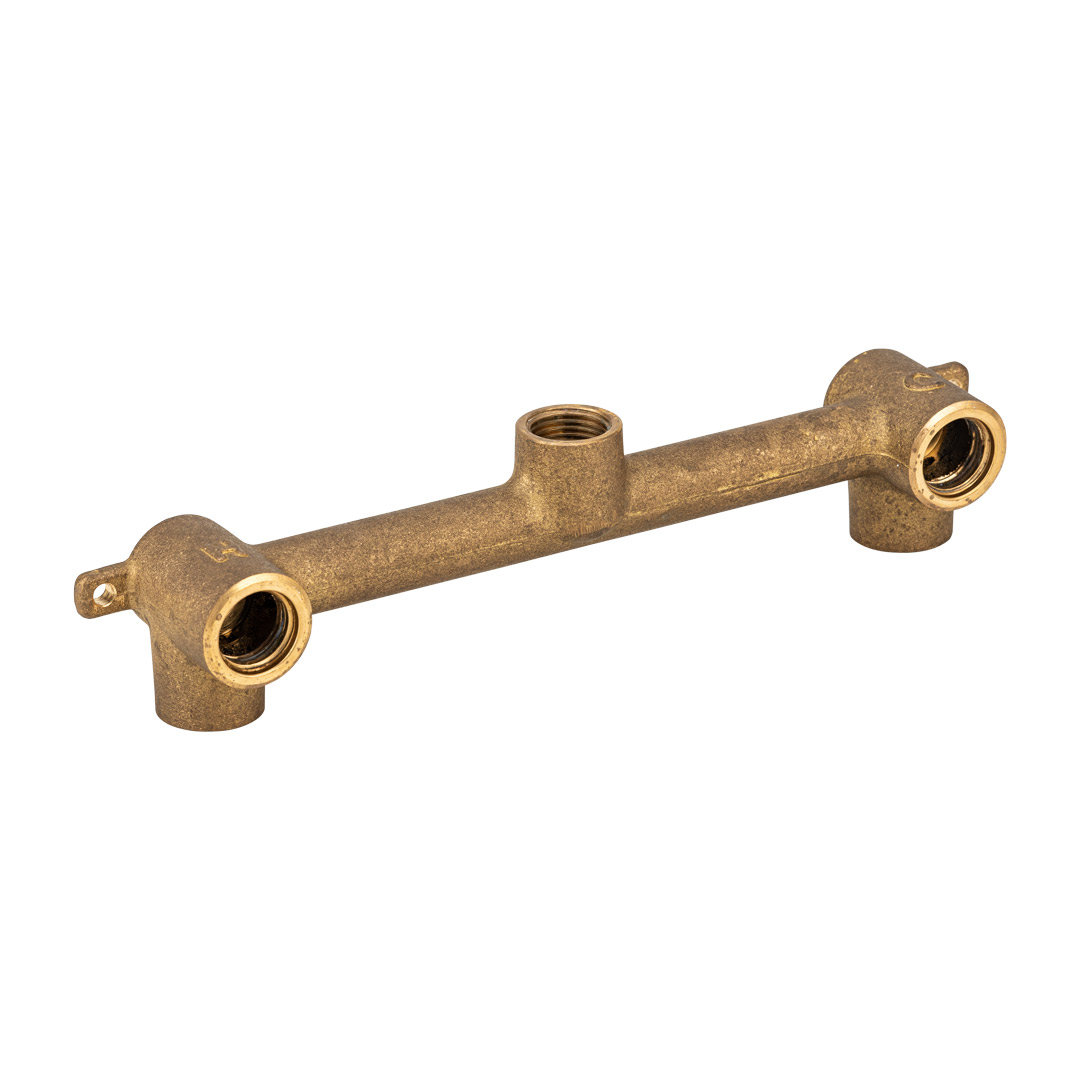
The ABI Assembly Taps require an In-Wall Breech for installation. This part is sold separately. You can purchase this below.
Product Details
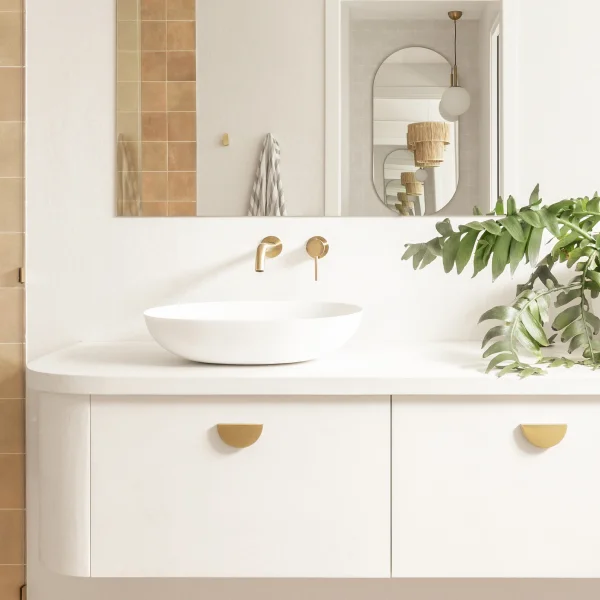
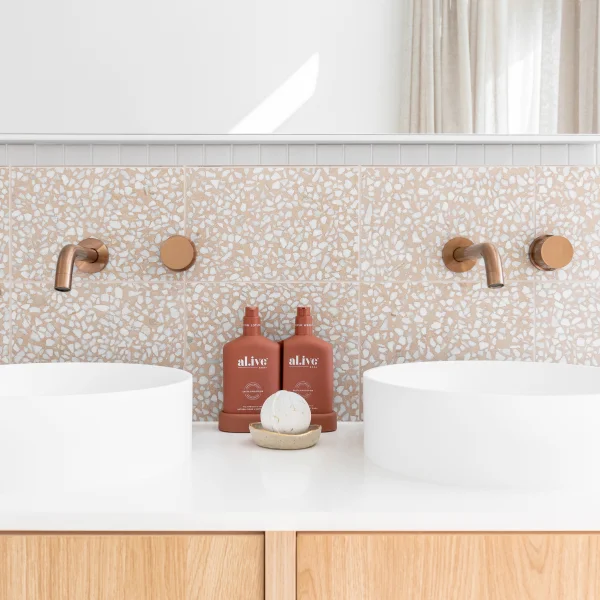
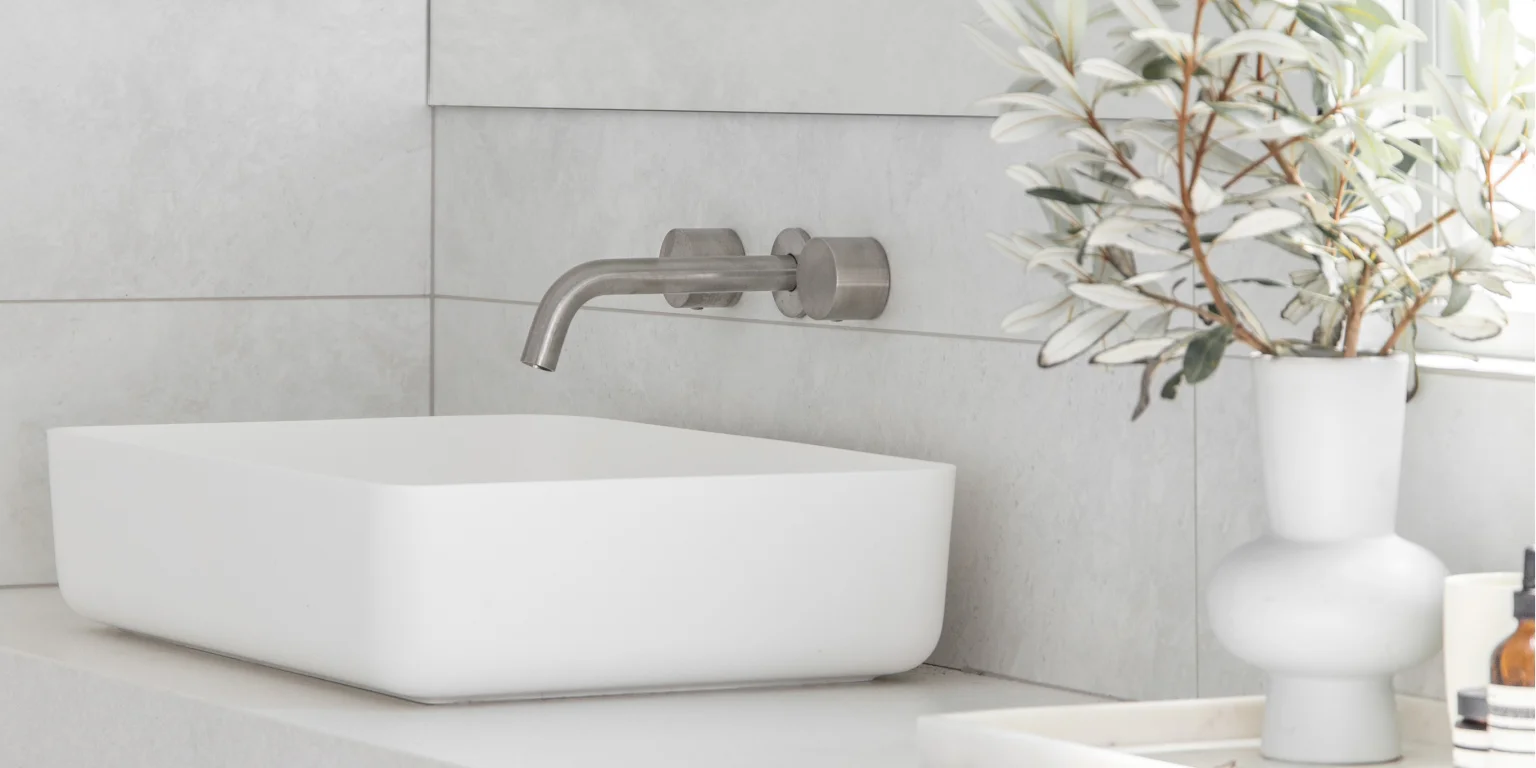
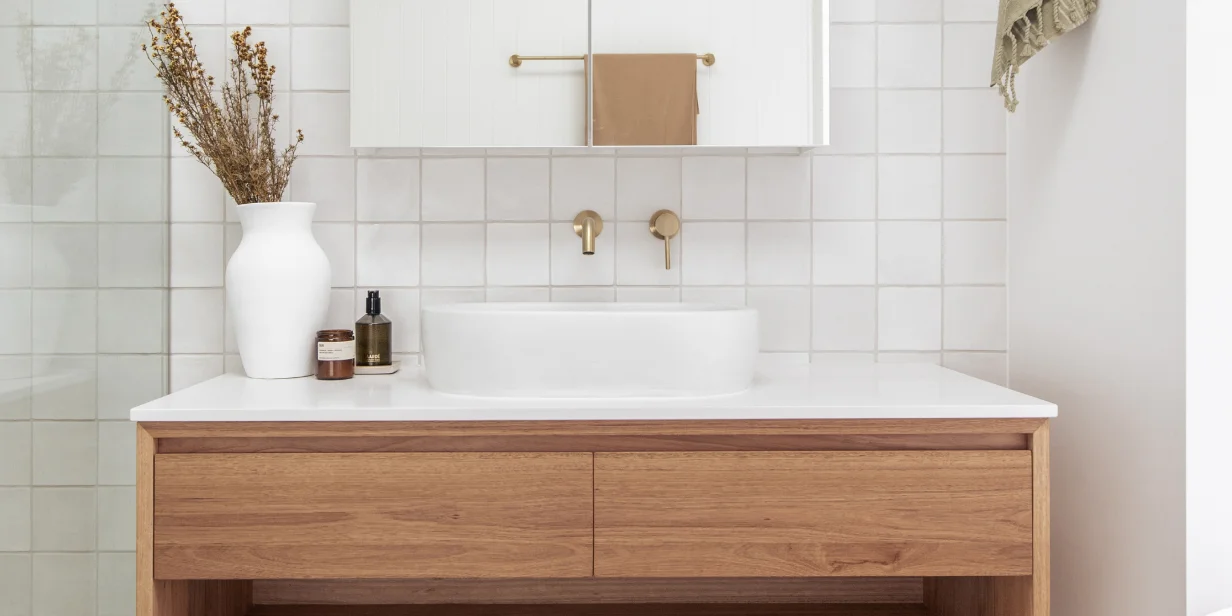
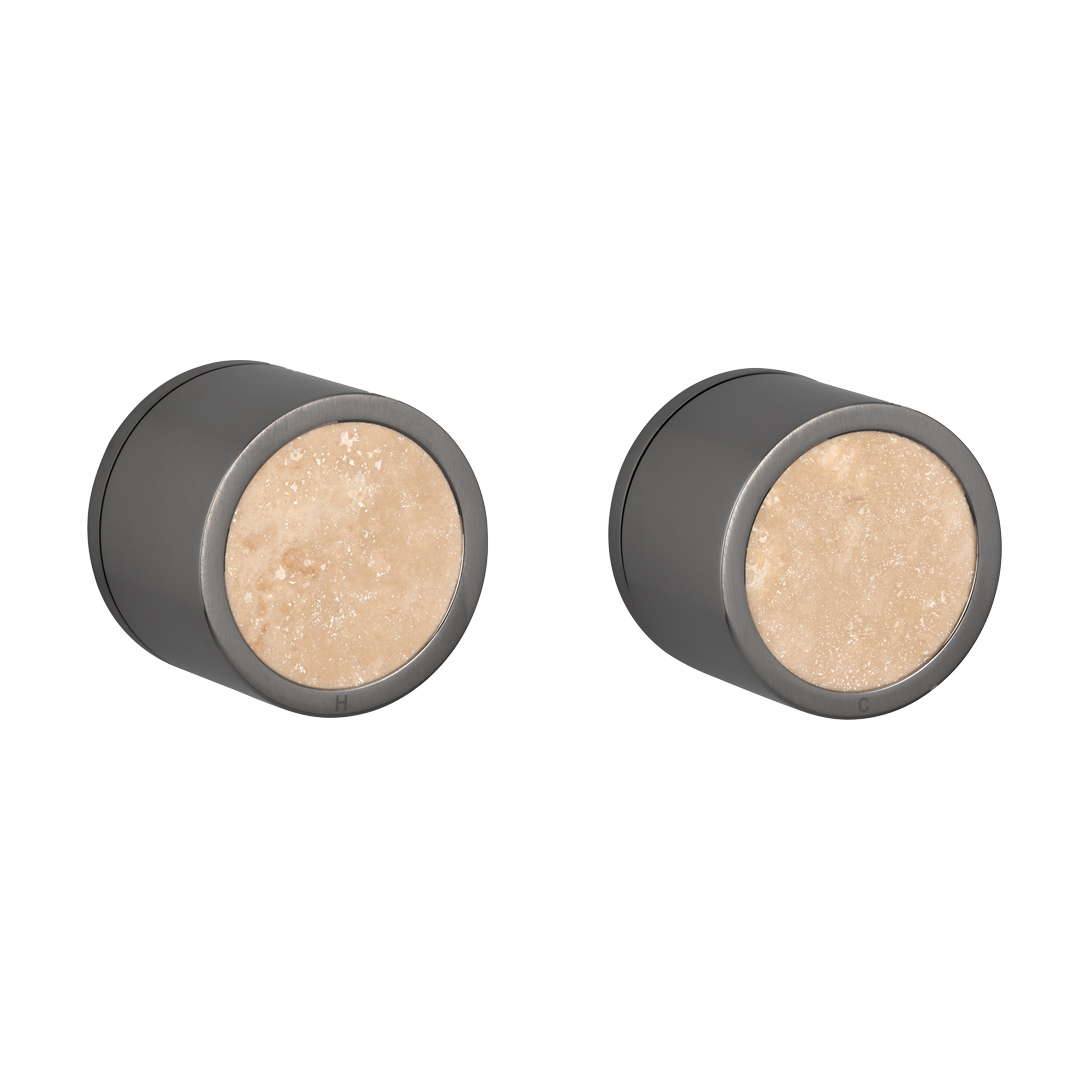
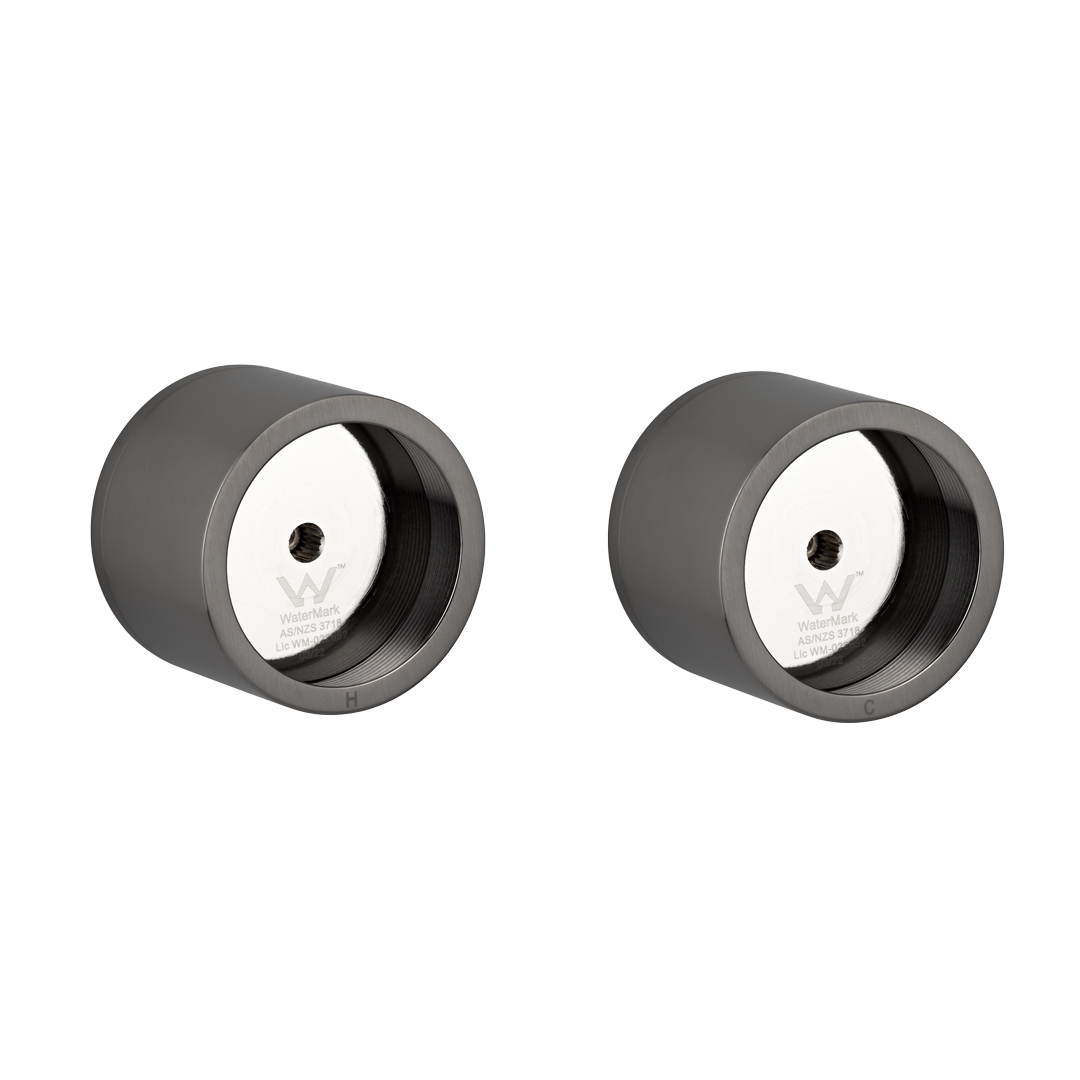
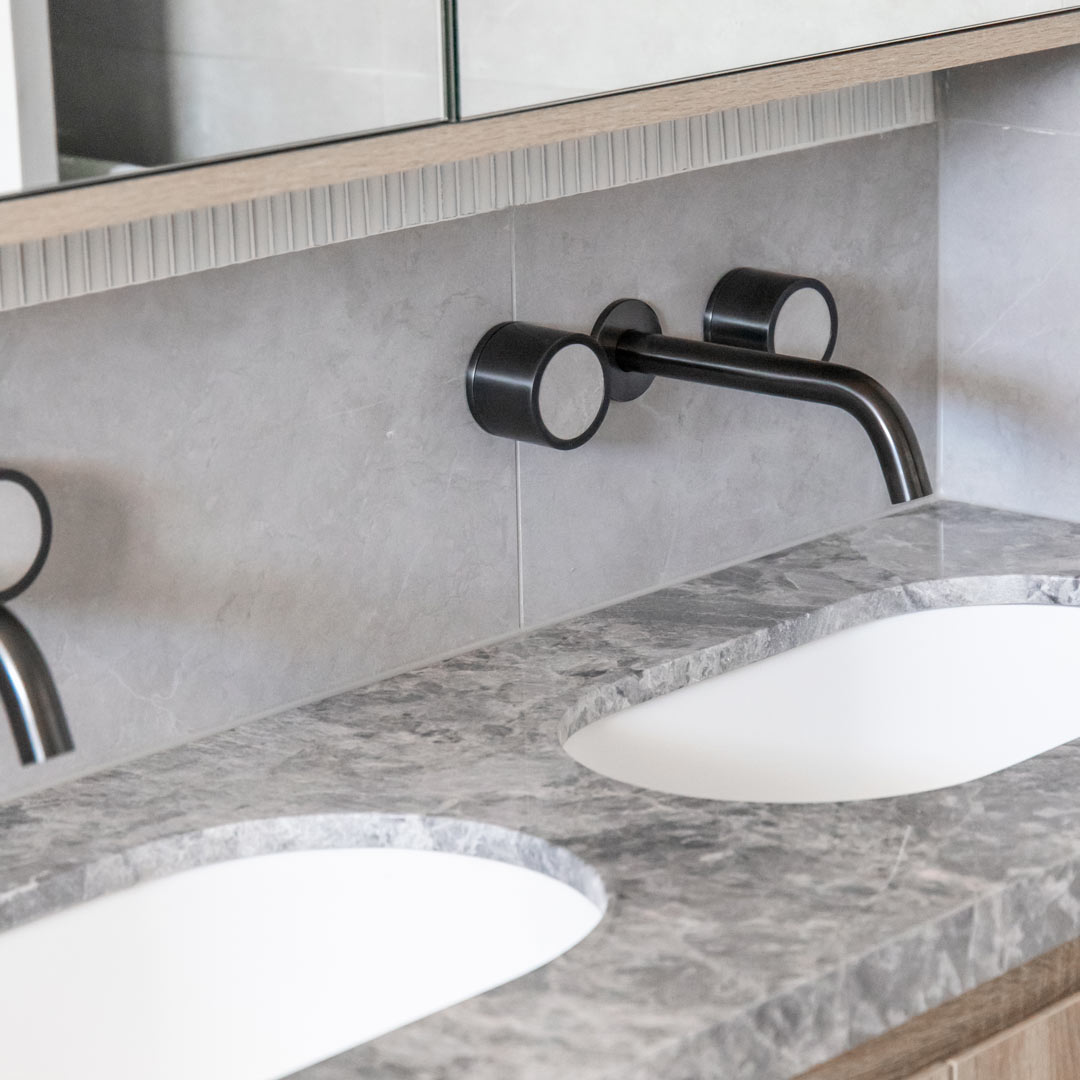
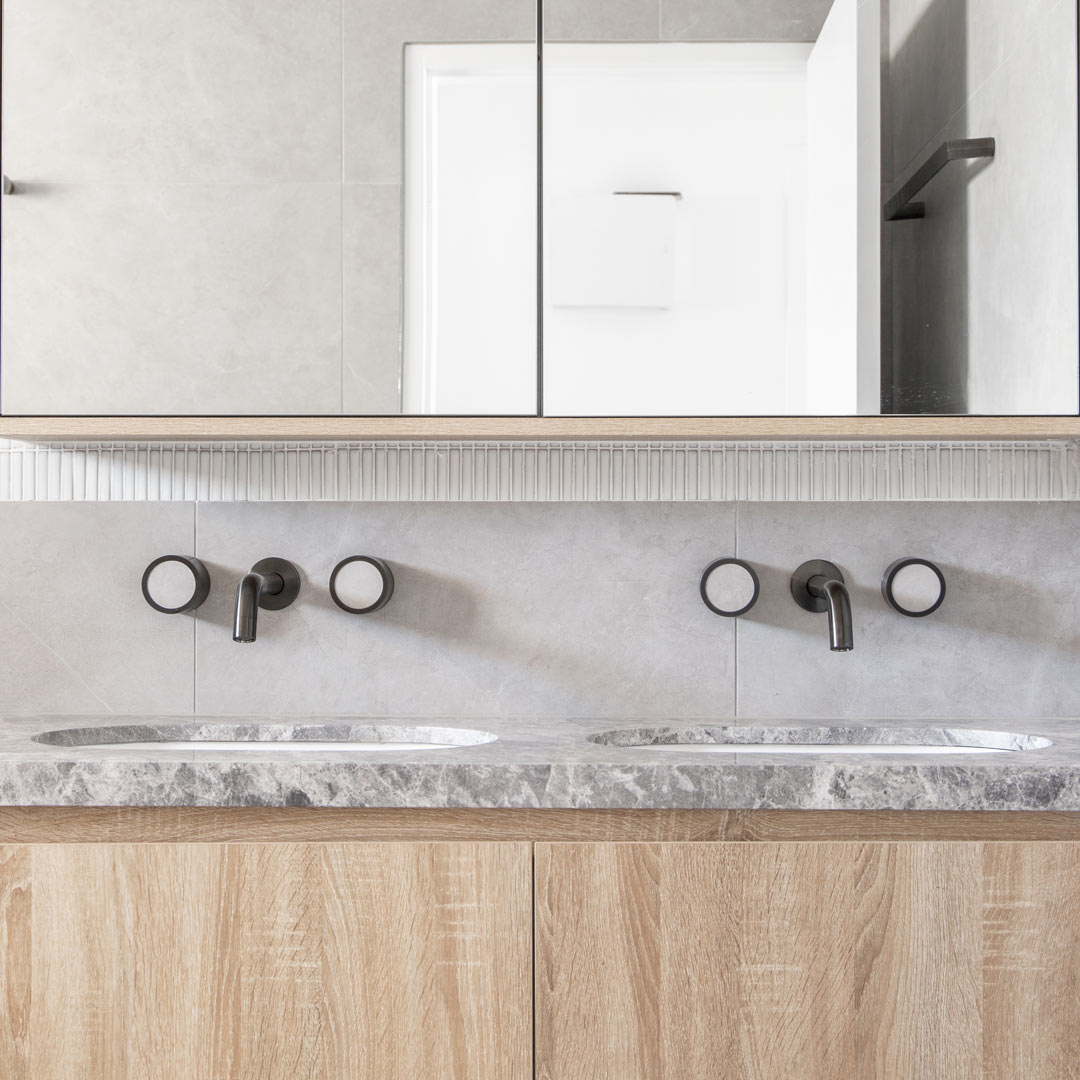
Using a versatile cutting-edge design, Pixi Tile Insert Assembly Taps are wall-mounted assembly mixing handles that allow you to insert a tile into the handle.
Modern in both aesthetics and functionality, these taps can be fitted with a precise section of your bathroom tile to add textural elements that help to unify your space.
Please Note:
– The tile insert shown is for display purposes only and is not included with your purchase.
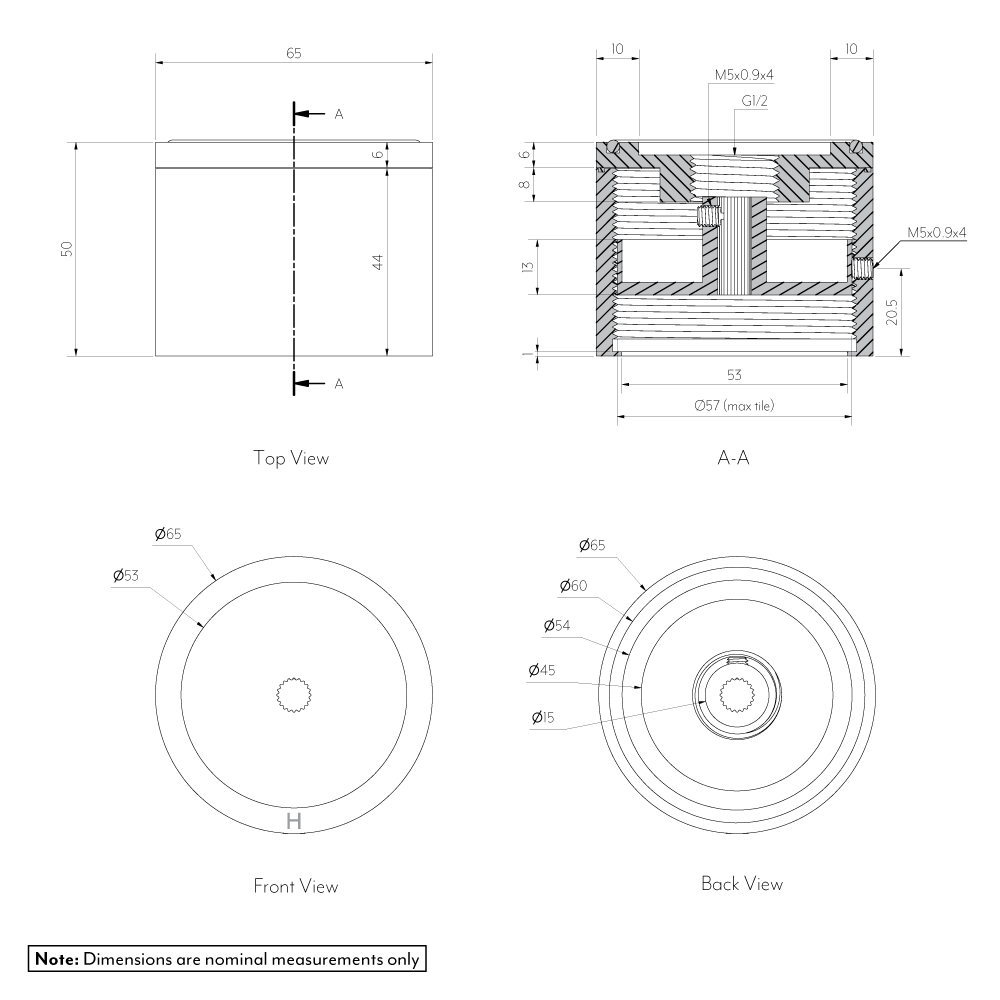
– We recommend that your custom tile insert should be cut between 54-56mm in diameter and be up to 15mm in thickness.
– A diamond-plated hole saw is provided to allow you to precisely cut your tile to match your backdrop. Standard spindles are also provided. However, if you require extended spindles they can be purchased here.
Features:
– Solid Brass
– Versatile design
– Diamond plated hole saw included
Dimensions:
– Diameter: 65mm
– Projection: 50mm
Browse our complete range of brushed gunmetal taps.
Shop Other Colour Options
Shop Other Colour Options
Product Info
- Features
- Colouring
- Specifications
- Warranty
- Environment
- Downloads
- Videos
Solid Brass
PVD (Physical Vapour Deposition)
Precise Pressure and Temperature Control
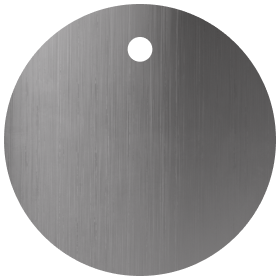
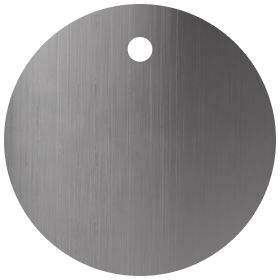
Brushed Gunmetal
At ABI, we use the highest quality materials and colouring processes to ensure a durable and timeless finish that you will love for years to come. Like many other materials, the colour may appear differently from product to product due to lighting within the installation location and reflection on products with different surfaces (flat and curved).
While we do our best to ensure consistency between batches and use strict colour toning and matching quality procedures to lessen variations, we acknowledge that there may be minor variations between batches. We encourage you to check over your items once received to ensure that you are satisfied with the finish. Should you receive anything of concern, our team is here to help!
| SKU | 14392 |
| Weight | 2.12kg |
| Brand | ABI Interiors |
| Finish/Coating | (PVD) Brushed Gunmetal - ABI’s Heat Shield – Industrial Grade Electro Colouring System (Physical Vapour Deposition) |
| Construction | Solid Brass |
| Dimensions (mm) | Diameter: 65mm Projection: 50mm |
| What's In The Box | 2 x Handle 2 x Backplate 2 x Spindle Attachment 4 x Grub Screw 1 x Allen Key 1 x Diamond Hole Saw 60mm Standard Hot and Cold Spindles |
Specification guides can be found under the Downloads tab.
| PRODUCT DESCRIPTION | RESIDENTIAL WARRANTY | NON-RESIDENTIAL WARRANTY | OUTDOOR WARRANTY | ||||||||||
|---|---|---|---|---|---|---|---|---|---|---|---|---|---|
| Name & Finish | SKU | Structure | Finish | Cartridge | Other | Structure | Finish | Cartridge | Other | Structure | Finish | Cartridge | Other |
| Pixi Tile Insert Assembly Taps - Brushed Gunmetal | 14392 | 25 | 5 | 7 | 2 | 10 | 1 | 5 | 1 | - | - | - | - |
Product Documents
| Pixi Tile Insert - Assembly Tap - Specification |
Product FAQs
What’s included with the purchase?
2 x Handles
2 x Back Plates
2 x Spindle Attachments
4 x Grub Screws
Standard hot and cold spindle
Diamond-plated hole saw
What spare parts are included?
Rubber O-Ring
Plastic O-Ring
M6 grub screw
Diamond hole saw 60 mm
Should the plumber or the tiler cut my tile(s)?
For a precise cut, we recommend that the tiler cuts your tile to ensure accuracy
What tools are required to cut the tile?
A diamond-plated hole saw is provided to allow you to cut your tile insert. We recommend that the tiler uses a drill press when cutting.
What is the level of difficulty when cutting the tiles?
This requires a very precise cut for your tiles. Therefore, please allow wastage for your tiles. We highly recommend that you have some surplus tiles in case of error.
Are there any specific types of tiles that are not suitable to cut?
Please note that glass tiles and handmade clay tiles are not suitable for the Pixi Tile Insert Tap.
What tile thickness would you recommend?
We recommend that your custom tile insert should be between 5mm – 15mm in thickness. Anything less than 5mm would need to be packed out and anything over 15mm would need to be grinded down. This all depends on the ability of your Tiler.
Would I need to silicone or grout the tile for it to stay in place?
The grub screw locks the tile into place. However, we recommend that you use silicone to better hold the tile against the handle and spindle attachment.
How should I clean the Pixi Tile Insert Tap?
Use natural cleaning products only and no abrasive cleaning cloths.
- Weekly cleaning with warm soapy water and a microfibre cloth is recommended.
- Dry after each use to reduce watermarking and surface rust.
- Use diluted toothpaste and water for hard to reach places and to restore the vitality of the finish.
- When cleaning, wipe in the direction of the brushed grain to maintain the brushed appearance.
- For renovations and new builds, flush pipes before first use.
- To best maintain finish, do not let water pool.


